Asus Zenwifi AX Setup
In today’s environment a dependable and fast internet connection is required for both professional and recreational activities. The ASUS ZenWiFi AX is a cutting-edge mesh WiFi system designed to give flawless coverage and lightning-fast speeds throughout your house or workplace. The ASUS Router App makes it simple to set up this powerful technology allowing even individuals without technical knowledge to benefit from it. In this article go through the process of asus zenwifi ax setup with the ASUS Router App.
Understanding Asus ZenWiFi AX
Mesh WiFi System:
- The ASUS ZenWiFi AX uses mesh technology to create a single unified WiFi network that covers every aspect of your space with no dead spots.
Next-Gen WiFi:
It supports the latest WiFi 6 (802.11ax) standard which delivers quicker speeds, superior capacity and enhanced performance predominantly in congested areas.
Easy asus zenwifi ax setup:
- ASUS intended the setup procedure to be simple using the ASUS Router App for both initial setup and continuous control.
Step-by-Step Setup Asus Zenwifi AX Guide
- Make sure you have your ASUS ZenWiFi AX devices power adapters and an Ethernet wire ready.
- The ASUS Router App is obtainable for all devices and can be downloaded from the App Store or Google Play.
- Plug in the first ZenWiFi AX unit and turn it on using the included adaptor.
- Use Ethernet to link your modem to the ZenWiFi AX’s WAN port.
- Launch the ASUS Router App on your phone or tablet.
- Begin Setup by tapping “Set up a new router” or a similar option depending on the app version.
4. Configure the Router:
- The software will automatically identify your ZenWiFi AX. Tap it to begin the setup asus Zenwifi ax process.
- To configure your internet connection type follow the on-screen instructions (DHCP PPPoE Static IP etc.). Your ISP normally provides this information.
5. Setting Up the WiFi Network:
- Set your WiFi network’s name (SSID) and password.
- It is prudent to pick a sturdy keyword for security reasons.
- The app may ask you to apprise your ZenWiFi AX firmware to the most recent version.
- If you need to apprise, trail the commands.
- If you have extra ZenWiFi AX mesh networking units deploy them strategically across your house or workplace to ensure optimal coverage.
- Repeat steps 2–6 for each additional unit making sure they are connected to the main unit via wireless backhaul or Ethernet.
- Use the ASUS Router App to configure sophisticated settings like parental controls, guest networks QoS (Quality of Service) and more.
- To keep your ZenWiFi AX system secure and optimal check for firmware updates on a regular basis using the app.
- If you have any problems during setup asus Zenwifi ax or operation visit the ASUS sustenance website or contact customer service for support.
10. Enjoy your seamless WiFi experience:
- Once set up is complete connect all devices to your new ZenWiFi AX network and enjoy fast dependable WiFi across your space.
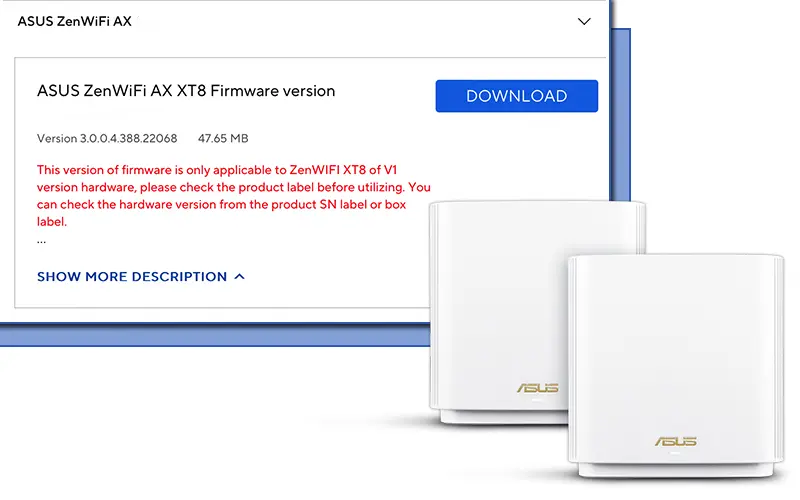
Asus ZenWiFi AX Firmware Update
- Transfer and fix the ASUS Router app.
- Launch the ASUS Router app, then sign in using your existing ASUS account or establish a new one if necessary.
- To configure your ZenWiFi AX network, according to the app’s setup instructions. Attach your modem to the primary router.
- Set up extra ZenWiFi units and turn them on. To connect and maximize them, use the app.
- Navigate to the main dashboard of the app and pick your ZenWiFi network.
- Go to the area for firmware updates.
- To find obtainable if a new firmware version is accessible, tap “Check for Apprises”.
- If there’s a new version, transfer and fix it by ensuing the commands.
- Permit the routers to restart in order for the firmware update to be finished.
Asus ZenWiFi AX Reset Process
- Locate the reset switch on the ASUS ZenWiFi AX device’s bottom or back.
- Make sure all required wires are connected and the router is powered on.
- Press and hold the reset switch, or until the power LED begins to blink, using a paperclip or pin.
- When the LED starts blinking, release the reset switch.
- Give the router a few minutes to finish the rearranged and start up again.
- The router will reoccurrence to its factory configuration after being reset. Using the details listed on the router’s label, join the default WiFi network.
- To completely reset your network settings, launch the ASUS Router app or online interface.
- If required, check and update the firmware.